Topics In Demand
Notification
New

No notification found.

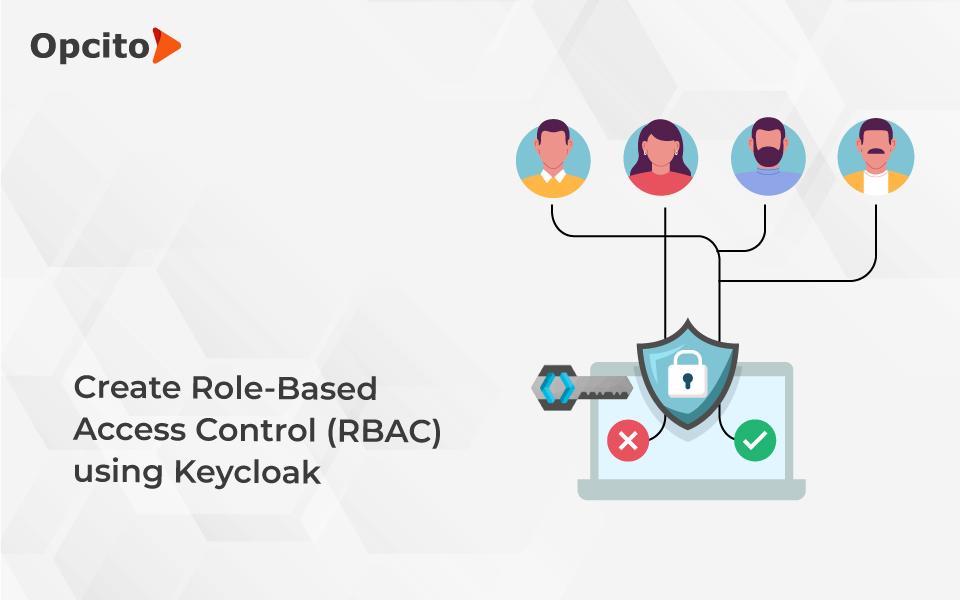
RBAC for frontend and backend using Keycloak

453

0

User authentication is necessary to safeguard your organization's data and systems. Granting system/data access to a person that he is not supposed to access can be disastrous. Our study suggests that 82% of breaches are caused due to human elements such as misuse, errors, and social attacks. Organizations have seen a growth of 13% in ransomware breaches – more than the last five years combined. In a world where data security tops the list of priorities for any organization, you must take measures to confirm the authenticity of the user before they gain access to your network and systems.

Keycloak is a fantastic identity and access management solution that helps organizations safeguard their networks by providing RBAC. Let's dive deeper into Keycloak, look at how it supports RBAC, and learn how to set it up.

What is RBAC?

Role-based access control (RBAC) helps restrict users' network access based on their organisational role and clearance level. Not all employees have access to all company-wide information. RBAC manages information access, ensuring employees can access only the information that they are supposed to.

With RBAC, organizations can easily add or change roles across operating systems, platforms, and applications without the need for paperwork. Roles can be either assigned, or access can be taken off, especially to keep a tab on external third-party users. Factors like responsibility, authorization, and job competency play a significant role in deciding who gets access to what. RBAC is vital to organizations with many employees, those who employ third-party vendors, contractors, and external consultants.

In a day-to-day scenario, every system has an admin and users. Both have set roles and accesses. For this example, lets consider admin and employees. Users who log in as an admin should be able to add, edit or delete users. But for an employee, they won’t be able to update or delete other users. To make sure these roles and access stay functional you need RBAC.

Keycloak provides easy authentication mechanism for services and applications. It follows industry-specified protocols and supports SAML 2.0, OpenID Connect (OAuth 2.0 + Authentication Layer) & OAuth 2.0. It uses its user database but can also be integrated with existing user directories like LDAP servers and Active Directory.

Let's look at the steps to incorporate Keycloak for RBAC for frontend and backend.

Install & setup Keycloak 15.0.2

To start configuring the Keycloak settings for RBAC, install and set up Keycloak. This can be done either from the zip file or by using Docker.

Create Realm

Create a new Realm to start the RBAC configuration. A master Realm exists by default. You can add your test Realm by clicking on ‘add Realm.’ Add the Realm name and hit save.

Graphical user interface, text, application, email
Description automatically generated

Create user role

Create a role "admin" inside the roles. Set this role as the default role for all employees. Now, click on the role, and select the default role tab. You will see the employee role inside the available roles. Click on the role and hit the add-selected button. Your role will be selected as the default role for registered employees.

Graphical user interface, application
Description automatically generated

Create client

To handle the complete authorization, you will need two different clients. Let’s consider the first as a frontend client and the other as a backend client.

Setup frontend client

For this client, you must set a mapper to get user roles in the user info API after logging in. Select the client, go to the mappers tab, and then click on create.

Graphical user interface, application, email
Description automatically generated

Select mappers type as user Realm role and make sure that your “Add to user info” option is enabled. All other settings like the main URL and logout URL will be the same.

Setup backend client

Create the new backend client by clicking on clients and then on create. Go inside the settings of that client and configure the below settings:

  • Client protocol must be OpenID-connect
  • Select access type as confidential
  • Enable the authorization tab

Graphical user interface, text, application, email
Description automatically generated

A picture containing background pattern
Description automatically generated

Save these settings, and a new authorization tab will appear on top.

Create scope

In the authorization tab, select the authorization scope and create some new scopes by clicking on create button. Example: scopes:list, scope:create

Graphical user interface, application
Description automatically generated with medium confidence

Create resource

In the resource tab, create new resource res: employee by clicking on create. Add the resource name and then select the scopes you want to assign this resource with. Hit save to save changes.

Graphical user interface, application
Description automatically generated

Create policies

Inside the authorization tab, select policies and click on create a new policy. Then select a role in the dropdown. Add the policy name as admin and select the realm role as admin. Hit save to save changes.

Graphical user interface, application
Description automatically generated

Create permission

Go to the authorization tab and select permission. Click on the create permission dropdown and select the scope-based permission. Add a new permission with the name employee-create and set resource as res: employee. In scope, select scope: create. Make this change to set all the other permissions like list, update, and delete for employees. Now your backend client is ready to use.

Graphical user interface, text, application, email
Description automatically generated

Handle permission in the web app

The Keycloak part is completed. You have configured permission for multiple actions. Now you need to use these permissions to enable and disable the action depending on permission. For example, if the user is an admin, they can do all CRUD operations of employees, but if they are not the admin, they can only list the employee. You need to check the user role and permission to achieve this. If it's not right, disable that particular action. You will need to disable the " add employee " button if there is no employee-create permission.

getUserPermissions() {return axios.get(http://localhost:8080/auth/admin/realms/{realmName}/clients/${backendCLIENTID}/authz/resource-server/policy/role/${policyRoleID}/dependentPolicies`); 
}, 

In the user info API call, you will get the user role, and with this above API call, you will get the permissions associated with that user role.

backendCLIENTID - Id of backend client that we created beforepolicyRoleID -"backendclient->authorization->policies->roles->admin" 

On this path you will get the id of admin role policy.

The output of this API will be an array of objects which contain all the permissions. Now you can use those permissions to enable and disable the actions on your UI side. To enable and disable the actions, you can directly use the IF directive and check if the action is present in response or not.

This is it! You have successfully configured your web application's RBAC from the front-end and back-end. You can customize user roles, resources, and permissions as per the use case.


That the contents of third-party articles/blogs published here on the website, and the interpretation of all information in the article/blogs such as data, maps, numbers, opinions etc. displayed in the article/blogs and views or the opinions expressed within the content are solely of the author's; and do not reflect the opinions and beliefs of NASSCOM or its affiliates in any manner. NASSCOM does not take any liability w.r.t. content in any manner and will not be liable in any manner whatsoever for any kind of liability arising out of any act, error or omission. The contents of third-party article/blogs published, are provided solely as convenience; and the presence of these articles/blogs should not, under any circumstances, be considered as an endorsement of the contents by NASSCOM in any manner; and if you chose to access these articles/blogs , you do so at your own risk.


© Copyright nasscom. All Rights Reserved.